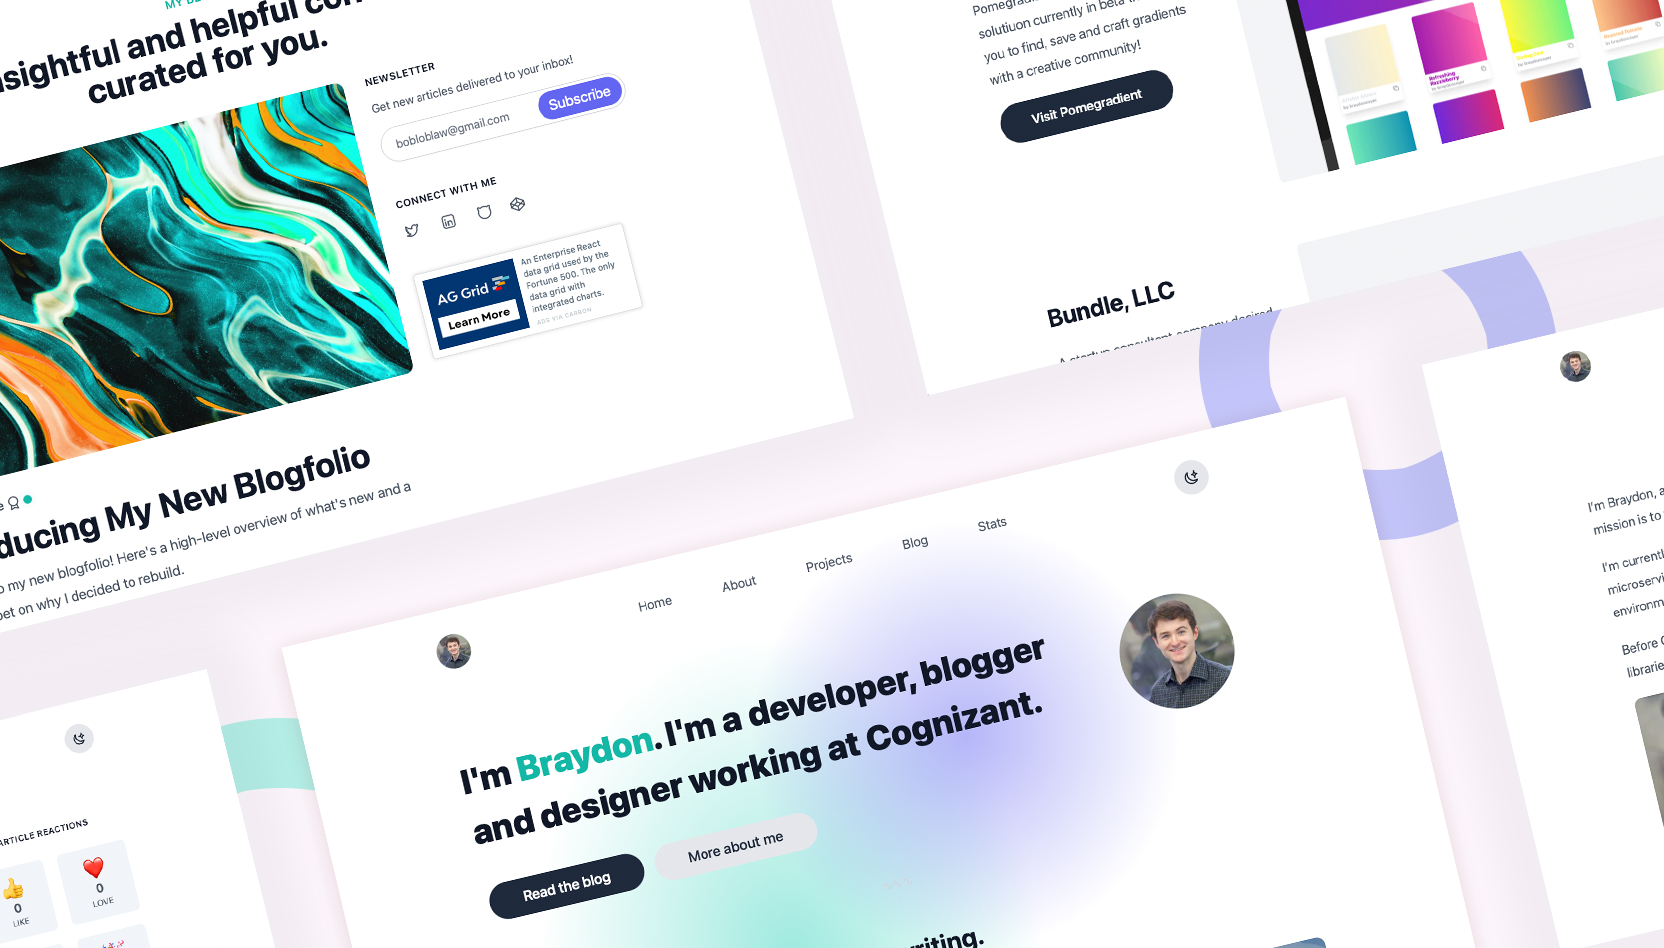
Introducing My New Blogfolio
Welcome to my new blogfolio! Here's a high-level overview of what's new and a brief snippet on why I decided to rebuild.
December 13, 2021 (5y ago)
11 min read
If you're reading this, it means that my newly revamped blogfolio has gone live! I'm so excited that you're here and experiencing the new site that I've been working hard on in my spare time for the last 3 months. It's been a labor of love, and I'm stoked that I finally hit the publish button.
My new website has a fresh coat of paint, improves on many things of the previous iteration, and adds several new features that I'm really excited about!
Before I dive into that, though, I want to briefly touch on why I decided to rebuild my blogfolio.
Why I Rebuilt my Blogfolio
I've been blogging for a little over a year now. In October of 2020, I decided I wanted to make an investment by documenting my knowledge and learning in public.
Originally, I hosted my blog over on Hashnode. With its 2-minute setup, custom domain mapping and engaging community, Hashnode was extremely alluring. And it suited me well! However, it wasn't long before I had the desire to dig deeper and build my own blogging platform. I wanted to truly own all of my content, grow my own personal brand, theme my blog however I wanted and add features as I saw fit.
I chose Gatsby as my framework and utilized MDX as my CMS. I worked hard on the design, learned Gatsby and eventually published my own slice of the internet in early 2021.
📣 You can still visit my old portfolio by clicking here!
Since then I've published 34 articles, written 6 sponsored articles and reached more than 100,000 people online. It's been quite the year!
So why rebuild?
There's a few technical reasons, but a big part of my decision stemmed from my continuous desire to learn new things. I treat my domain as an environment for experimentation; an area to promote creativity. My codebase is ever-evolving and changing. Sometimes things stick around, while other times I realize it's best not to push something to the public. Regardless of the end result, I always learn something.
🤔 You may not think that building a blog is very complicated. But, I disagree. Here's why I think every developer should build their own blog.
I do have a few reasons that are a bit more justifiable:
- Gatsby was getting slow. Build times were long, and because of how I built my blog, it was getting harder and harder to add new features.
- I had this extremely weird bug where I couldn't commit changes - no idea why. I tried a lot of things to fix this, even deleting the project and cloning it down again. Sometimes I could commit, sometimes I couldn't. I tried different computers, too. Nothing worked. 🤷
- All of my blog content was sourced from MDX. And while having the ability to inject React components into the markdown allowed for some great interactions, it was a pain to open my IDE, manually create a new article, stage my changes and redeploy my blog. This made me start to seek out a CMS. I know, I know: first-world problems.
- I had been using Next.js at work for an internal project, and I really enjoyed it. Having the option to pre-render pages at build time (SSG), request time (SSR) or incrementally (ISR) opened a lot of possibilities and solved a few pain points I was experiencing (like the point above). More on Next.js and my tech stack later in this article...
What's New on My Blogfolio
Now comes the fun part! I've jam-packed this site with lots of new features, and a handful of improvements!
Notion as a CMS
My entire life lives in Notion: work projects, notes, contacts, books I'm reading, my daily journal, my weekly calendar, family stuff, finances, blog posts - you name it! When I saw that the Notion API had been released, it only made sense to utilize the API and use Notion as a CMS.
Now when I want to release a new article, I don’t have to open VS Code and manually create a new file, push my changes and redeploy my app - now I can simply create a new item in my blog database, write my article as I normally would, and the new post shows up automatically on my site. It’s like magic! ✨
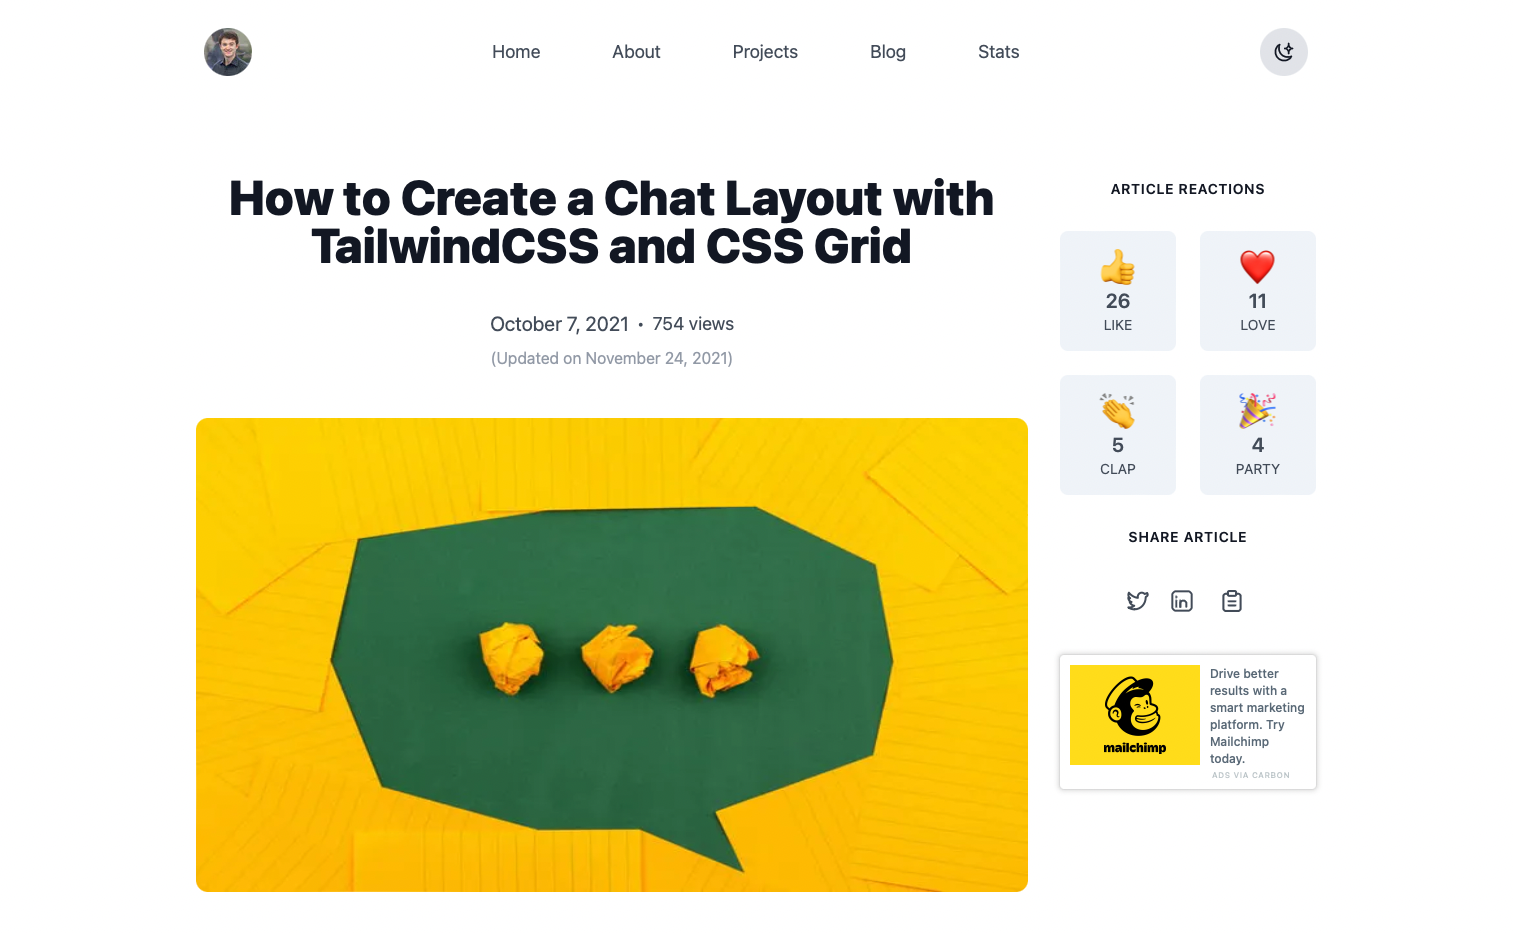
Article Reactions
A new feature debuting with my updated blogfolio is article reactions!
I'm a big fan of community engagement, a quick way for others to gauge the helpfulness of an article is a quick glance at the reactions. Built with Supabase and Next.js API routes, visitors can react to an article with the following emojis: 👍, ❤️, 👏, and 🎉!
I'm planning on adding some micro-interactions when a reaction is activated, so keep an eye out for that in the near future!
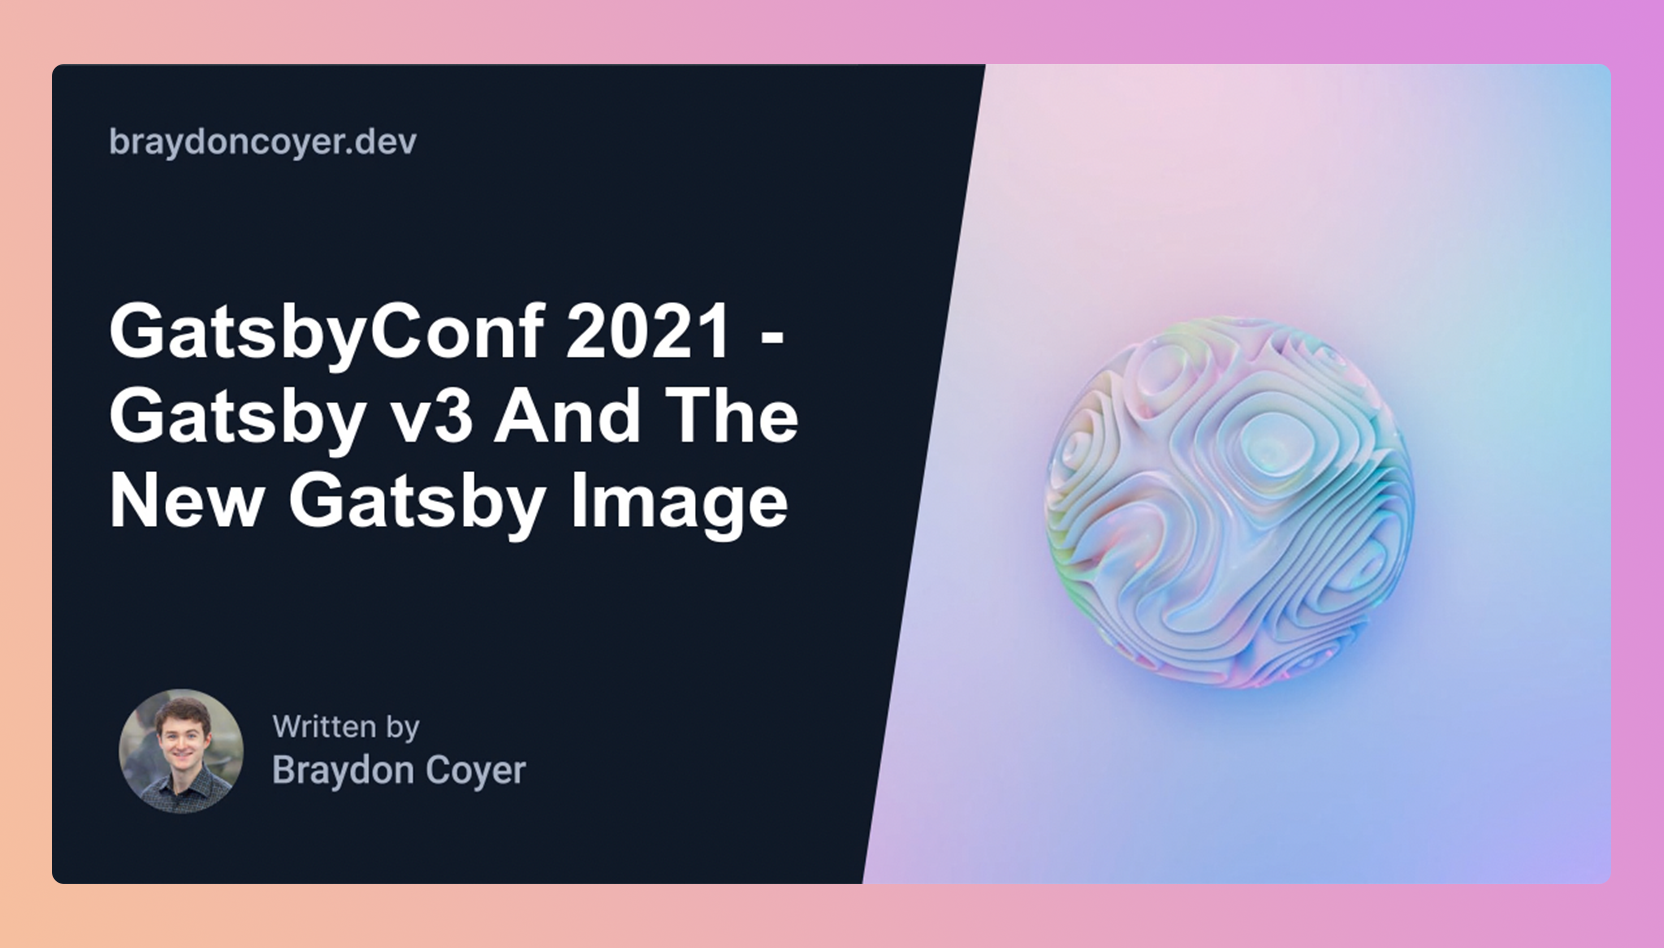
Automated Open Graph Images
Another feature I'm excited to release is automated Open Graph images!
I use to craft social banners by hand for each article. It allowed for flexibility, but was very time-consuming.
With the help of the powerful Cloudinary API, my portfolio grabs the article banner and title and crafts a dynamic Open Graph image. I'm really proud of this feature, not only because it'll save me lots of time, but because I think it looks super slick, too!
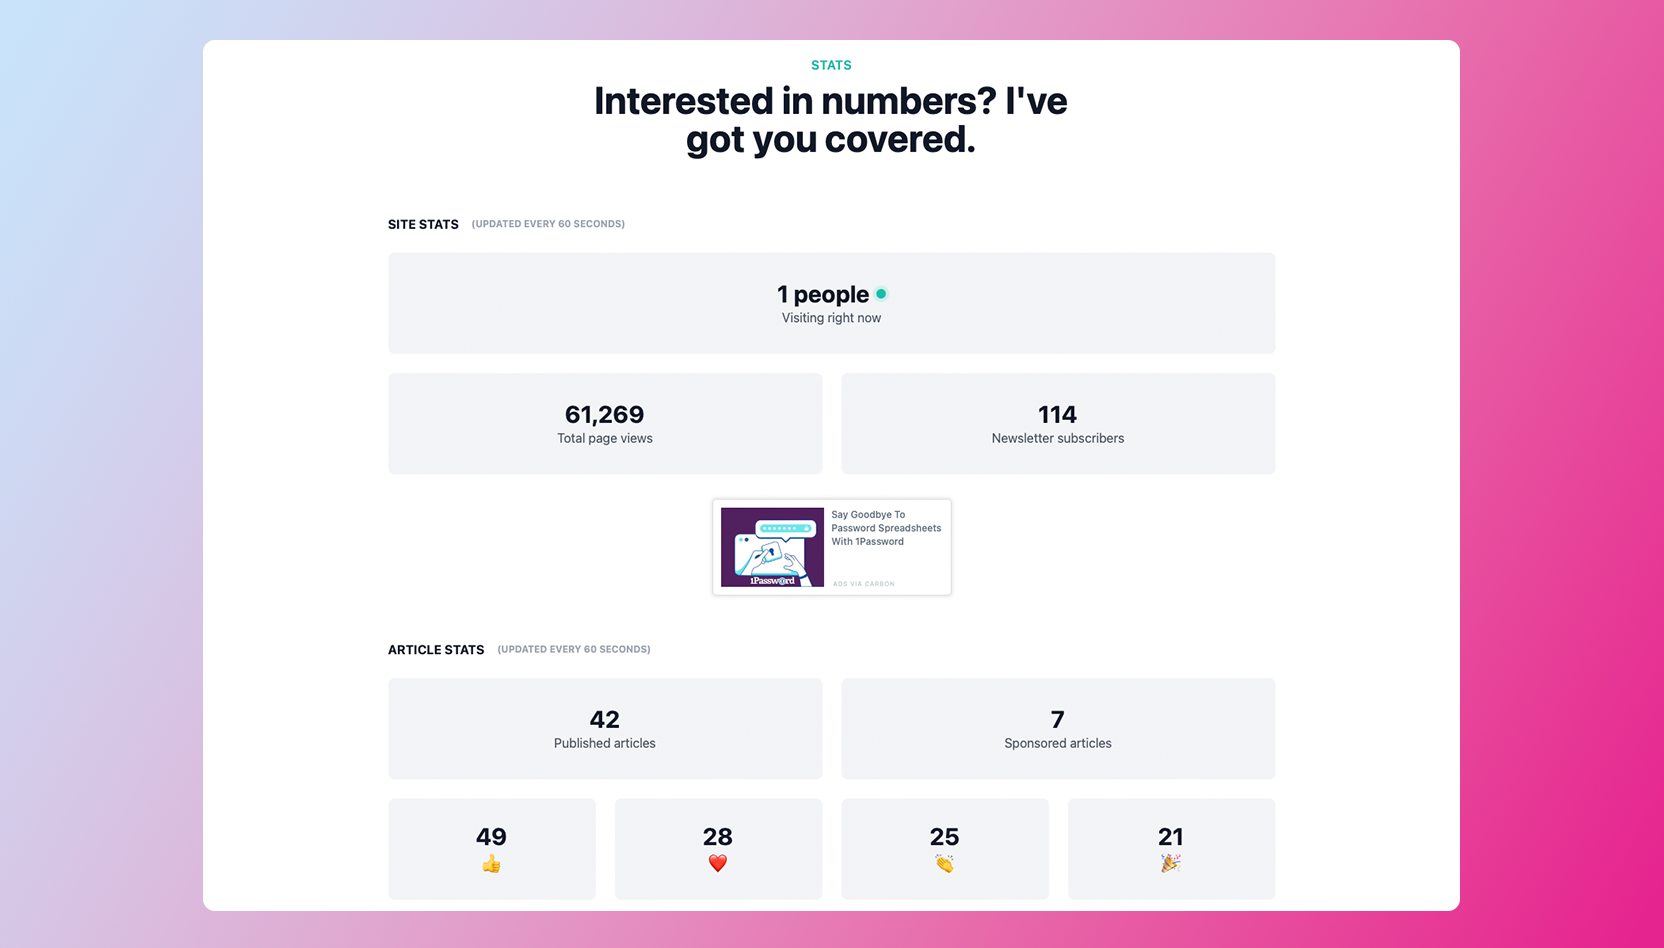
Stats page
Stolen almost directly from SLD, I've incorporated a Stats page on my site!
From here visitors can see how many active visitors I have on the site, total page views, the number of articles I've published, an in-depth look into article reactions, and more!
This was accomplished with a variety of APIs, and the statistics update every 60 seconds.
Article 'READ' feature
A nice quality of life addition I wanted to include was the ability for visitors to quickly scan and identify articles they've already read.
Sometimes it's hard to remember what has already been seen, especially as time passes and visitors return to my blog. This little nice-to-have has come in handy — even for me as I built out the site!

Intelligent Article Suggestions and Article Tags
I'm grouping these together because they're related, though in reality they should be considered separate features.
As visitors reach the end of an article, my blog will intelligently suggest three additional articles to read in an attempt to help them find more helpful content. Behind the scenes, this is done through the tags associated with each article.
And, because articles now have assigned tags, it's possible to now discover articles via tags on the blog list page.
Copy Code to Clipboard
A smaller feature that was often requested was the ability to copy a block of code to the clipboard.
Visitors reading an article on desktop or medium-sized devices can now copy code with a single click!
Sharing an Article to Social Media
One area that I improved over my previous blog iteration is where the social sharing options are placed.
Previously, these options were located at the top of the page and hidden under a three-dot menu. Not the easiest to find; I wasn’t really considering the user experience here and instead wanted to implement a dropdown because it looked cool!
This second attempt is a bit more elegant, and I put a bit more thought into the UX. If a visitor is reading an article on their tablet or computer, the sticky sidebar on the right contains easy-to-identify social icons for access at any point.
If on mobile, the social icons have been relocated and placed at the end of an article, allowing visitors to share the article if they found it helpful.
Alongside the social icons is a new copy to clipboard icon for those who want to grab the URL directly.
Lasted Edited Date for Articles
An article on my blog is treated like a living document; it gets better over time as I gain feedback on the content, expand my knowledge on the subject, or update the article due to a change or deprecation.
From a reader's perspective, it can be helpful to know that the article they're reading is up-to-date, which is why I've included an updated date beneath the published date.
Animations and Page Transitions
I'm not a huge fan of distracting animations on websites, especially when I'm reading an article.
It goes without saying, though, that animation can play a role in design and user experience.
I've included subtle page transitions with my new blogfolio, and even some parallax scrolling on the Projects page.
Dedicated Projects Page
Piggybacking off of that, my revamped blogfolio contains its own dedicated Projects page.
My previous iteration displayed projects on the home page. While the esthetic was nice, it didn't leave much room for additional information, and locating the projects required the visitor to scroll down quite a ways.
My hope is that the new dedicated Projects page makes it easier to access some of my select works.
Mobile Navigation Menu
Another new addition to this site is the new mobile navigation menu.
Visitors will now be able to click on a hamburger menu in the top-right of their device and access a navigation menu for easy traversal of my site, and to change the theme on the fly.
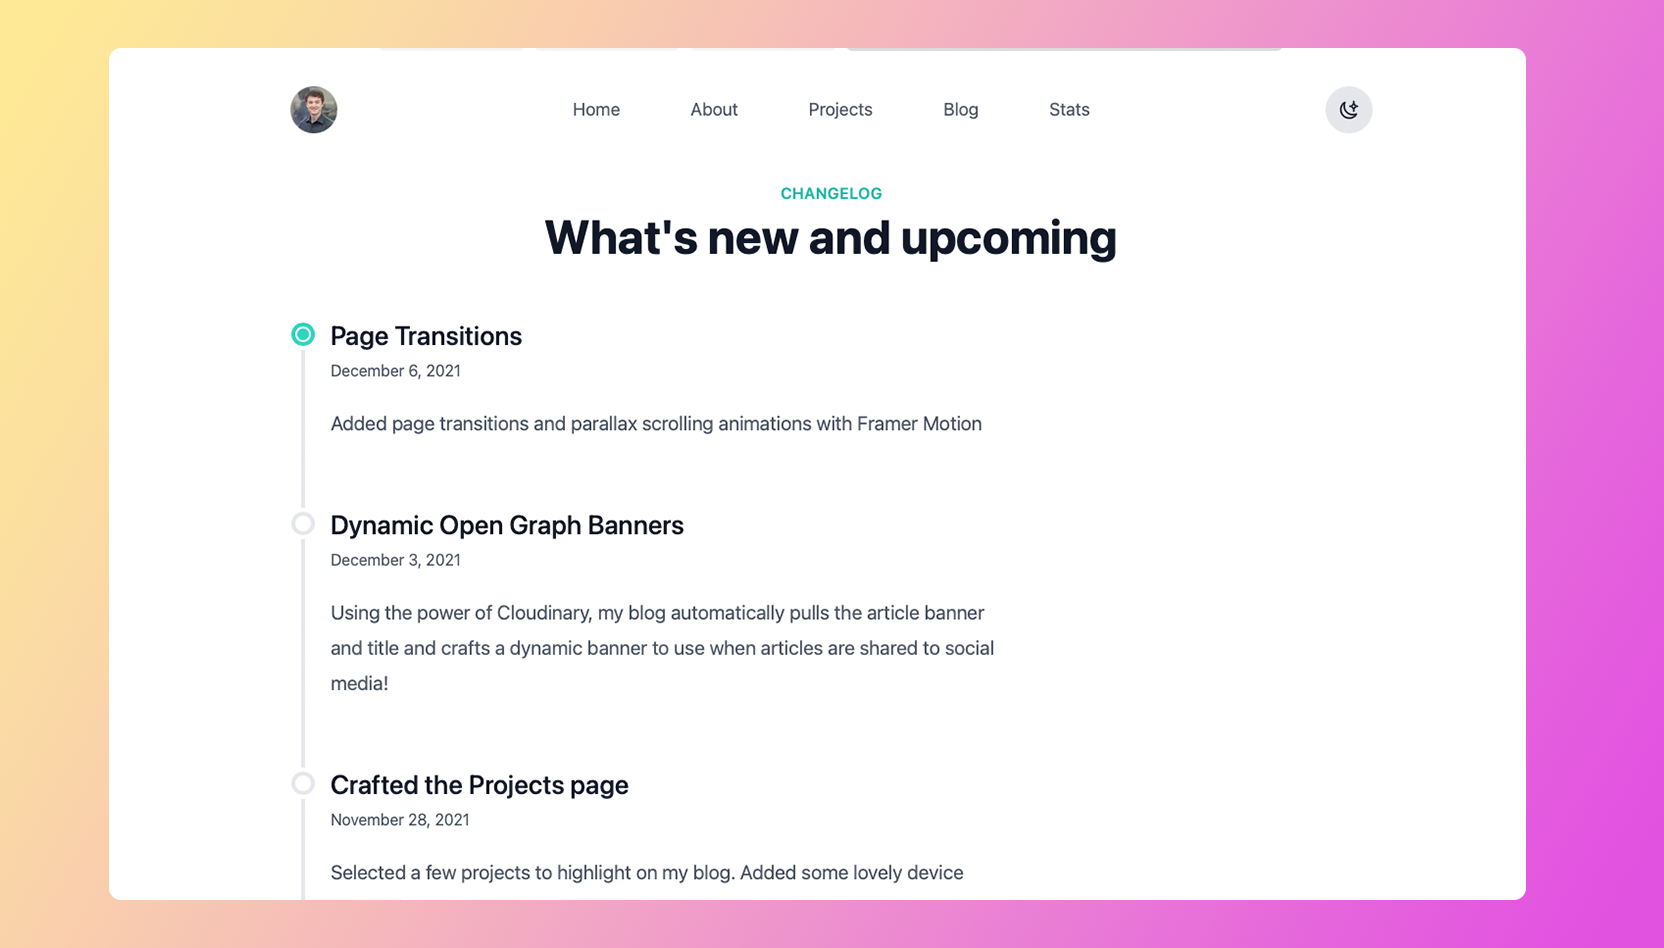
A New Look for the Changelog
Although the Changelog page isn't new for this release, I've updated the look and also grabbed the content from Notion.
I like the idea of documenting the changes I make on this site. It gives visitors a way to see what's new, and gives me a birds-eye view of the noteworthy things I've shipped.
Easy Access to the Resume
Finally, I added a way to quickly access my most recently updated resume directly from the footer. This should be helpful for potential future employers, or for anyone else who is interested in seeing my work history.
The Tech Stack
I'm sure some of you are interested to know what technologies I used to build my JAMstack blogfolio. I have this information listed on my toolbox page, but let me dive a bit deeper here.
Next.js Version 12
I'm using Next.js as my framework of choice for the rebuild. Specifically, the newly released version 12 which comes with a host of new additions! Using middleware, I was able to easily redirect incoming traffic to an updated slug for a select few articles.
All of the pages on my site are either statically generated at build time, or incrementally regenerate to fetch new data. This means my blogfolio is blazing fast.
Notion
As previously mentioned, I'm using Notion as my CMS. When I want to publish a new article, I create a new item in my blog database, update the appropriate properties and Next's ISG handle's the distribution for users.
I'm also using Notion for my Toolbox and Changelog pages.
TailwindCSS Version 3
Once again, I'm using Tailwind to style my blogfolio but this time using the newly released version 3! ✨
With this new revamp, I'm relying more on the Typography plugin to handle a lot of my content styling. Compared to my previous blog, this means that my markup is drastically cleaner. The only utility classes used in the markup is there for specific stylistic reasons.
Supabase
I gave Supabase a try for a side project a few months ago and immediately fell in love.
I'm using Supabase to track my article hit count as well as article reactions. Pair the ease of use with Next's API routes and the experience was super smooth.
Cloudinary
Notion allows me to embed images directly in my articles, but instead of having Notion serve the images, I decided to shift to Cloudinary.
I'm also using Cloudinary's powerful image transformation API to create dynamic Open Graph banners. It's super cool, and I'm sure I'll be writing up a tutorial soon!
Iconic
One of the things that give UIs that extra level of polish is consistency, and icons play an important part in that. There are countless icon libraries available, but I chose to go with the premium Iconic library. Each icon is crafted to perfection - and I hope you enjoy them as much as I do!
Revue
When it was announced that newsletters powered by Revue can be embedded in your Twitter profile, I quickly made the switch from Buttondown.
Revue has a robust API as well, allowing me to perform all sorts of operations here on my blogfolio.
Acknowledgments
Although I was shipping the code, this adventure was hardly a one-man endeavor.
I'd like to thank the following individuals:
- Jon Meyers - for his incredibly helpful Egghead course on using the Notion API.
- Drew Bredvick - for helping me debug some super weird SEO rendering issues.
- James - for his brilliantly designed icons.
- Jason Lengstorf - for his helpful article on adding text overlays using Cloudinary.
Conclusion
I've had a ton of fun revamping this site, and I've learned a lot too!
Thanks for checking it out, and for reading this far! Keep an eye out for future updates - I've got a lot planned!
Here are some other articles you might find interesting.

The Hard Part Isn't Writing Tests Anymore
AI has made writing tests cheap. It hasn't made deciding what deserves to be tested any easier.

Great Software Teaches Great Taste
In an era where AI agents can write software faster than we can, the quality that may ultimately distinguish us isn't our technical skill, but our creative taste.

Subscribe to my newsletter
A periodic update about my life, recent blog posts, how-tos, and discoveries.
NO SPAM. I never send spam. You can unsubscribe at any time!
